Ever catch yourself staring at store-bought snacks, wondering what’s really in them? You want to give your furry friend something special—without mystery additives. That’s where this simple recipe shines. With just a few kitchen staples, you can create crunchy goodies packed with flavor your companion will love.
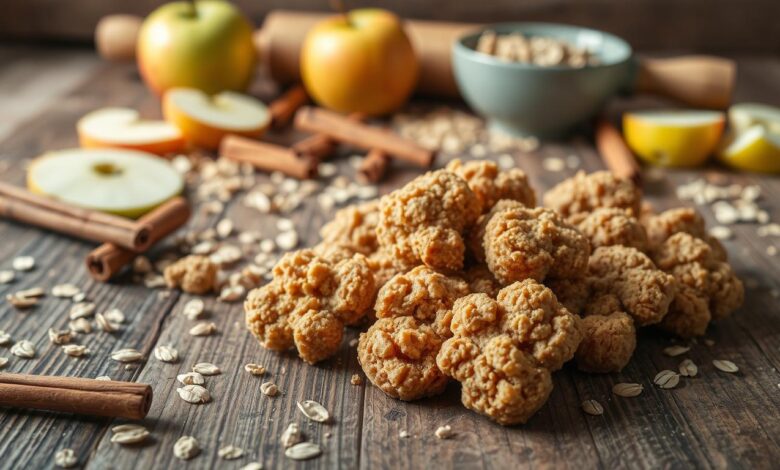
Think fresh apples, warm cinnamon, and a golden-baked crunch. These bites skip the preservatives while delivering a texture that keeps tails wagging. Mixing the ingredients takes minutes, and your oven does the rest. No fancy tools needed—just a bowl, baking sheet, and that eager nose waiting by the kitchen.
Preheating to 350°F ensures even cooking, while parchment paper keeps cleanup easy. The secret? Letting the treats cool completely for that satisfying crispness. You’ll know they’re ready when your kitchen smells like autumn and your pup’s eyes light up.
Ingredients and Preparation Tips
Every great recipe starts with quality components and the right gear. Let’s break down what you’ll need to craft crunchy, tail-wagging snacks that prioritize nutrition and simplicity.
Wholesome Ingredients for a Healthy Snack
Gather these pantry staples:
| Ingredient | Measurement | Key Benefit |
|---|---|---|
| Whole wheat flour | 1.5 cups | Digestive fiber |
| Diced apples | 1 cup | Natural sweetness |
| Coconut oil | ⅓ cup | Skin health |
| Cinnamon | 1 tsp | Antioxidants |
| Egg | 1 large | Binding agent |
Organic options boost flavor while avoiding pesticides. For extra variety, add a drizzle of raw honey or a dollop of plain Greek yogurt after baking.
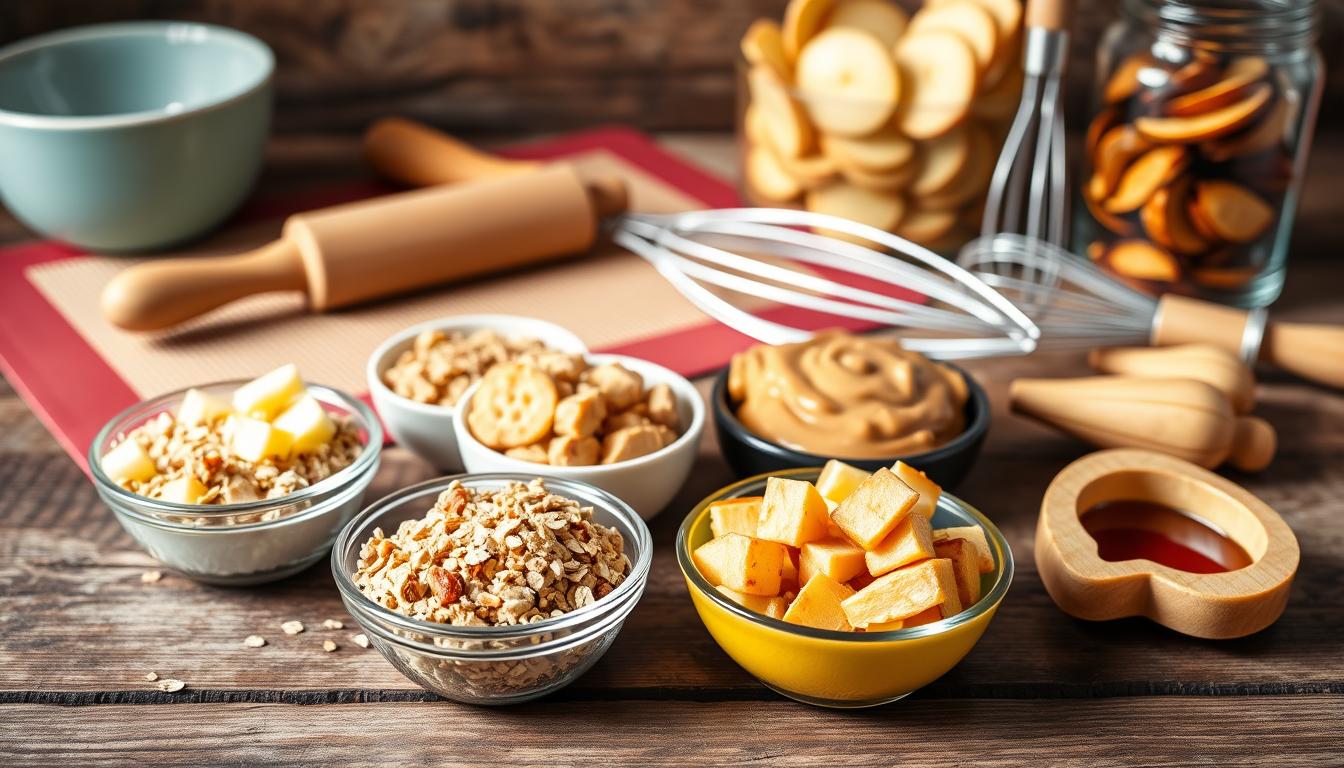
Essential Tools and Setup
Streamline your process with these helpers:
- Silicone baking mats – Prevent sticking without grease
- Stainless steel apple corer – Removes seeds quickly
- Standard mixing bowl – Ensures even dough blending
Preheat your oven to 350°F before mixing ingredients. This guarantees consistent heat when your dough hits the sheet. Use dry measuring cups for flour and liquid cups for oils – precision matters for texture.
Step-by-Step Apple Crisp Dog Treats Recipe
Transform your kitchen into a pet-friendly bakery with this straightforward guide. Follow these carefully tested steps to create crunchy morsels that’ll have your companion begging for more.
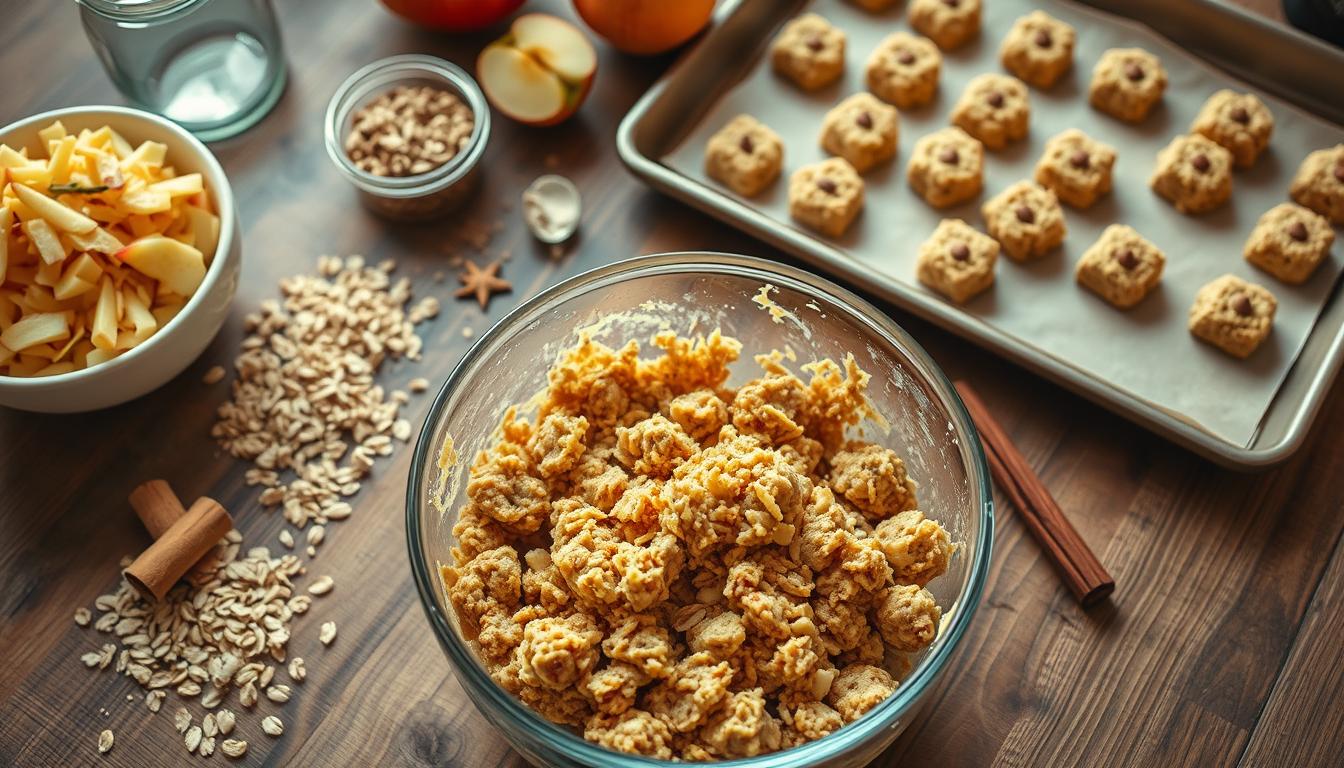
Mixing the Dough and Combining Ingredients
- Combine 1.5 cups whole wheat flour and 1 tsp cinnamon in a large bowl
- Add 1 cup diced fruit (skin-on for fiber) and ⅓ cup melted coconut oil
- Crack in 1 egg, then mix until the dough resembles coarse sand
Pro tip: If the mixture feels dry, add warm water 1 tbsp at a time. Proper dough should hold shape when pressed without crumbling.
Baking Time and Temperature Adjustments
Preheat your oven to 350°F while lining a baking sheet with parchment. Spread dough evenly using a silicone spatula – aim for ¼-inch thickness. Bake for 30 minutes, then rotate the sheet for even browning.
- Extended crisp method: Turn off oven after baking, leave treats inside for 15 extra minutes
- Thicker batches? Increase cooking time by 5-minute increments until golden
Cool completely on a wire rack before serving. This cooling phase helps develop the signature crunch while preventing mouth burns. Store leftovers in glass containers for up to 2 weeks.
Exploring Variations and Additional Treat Ideas
Baking for your furry friend becomes even more rewarding when you explore new flavors. Customizing the base recipe lets you use seasonal ingredients or address specific dietary needs while keeping snacks exciting.

Spice It Up Safely
While cinnamon adds warmth and antioxidants, consider these twists:
- Peanut butter boost: Mix in 2 tbsp unsweetened, xylitol-free spread for extra protein
- Pumpkin swap: Replace half the diced fruit with canned pumpkin (not pie filling)
- Berry blend: Fold in ¼ cup mashed blueberries before baking
Always introduce new ingredients gradually. Watch for reactions like itching or digestive changes during the first 48 hours.
Keeping Treats Fresh and Nutritious
Proper storage preserves texture and prevents spoilage. Follow these guidelines:
| Storage Method | Duration | Best For |
|---|---|---|
| Airtight container | 2 weeks | Room temperature |
| Freezer bags | 3 months | Long-term storage |
| Ceramic jars | 10 days | Frequent access |
Limit servings to 1-2 small pieces daily. The fiber in fruit supports digestion, while cinnamon may help regulate blood sugar. For dogs with grain sensitivities, substitute oat flour for wheat varieties.
Remember: Adjust baking time by 3-5 minutes if changing thickness. Thinner batches crisp faster, while chunkier pieces need extra oven time at 350°F. Consult your vet before making significant recipe changes, especially for pets with health conditions.
Conclusion
Crafting snacks at home puts you in control of every ingredient. This recipe combines simplicity with nutrition—wholesome components like diced fruit and cinnamon create crunchy rewards your companion deserves. No complex techniques or hidden additives, just pure flavor.
You’ve seen how easy it is to mix, bake, and store these goodies. The method adapts effortlessly to substitutions, letting you tailor flavors to your pet’s preferences. Always start small when testing new variations, and monitor reactions closely.
Remember: Even healthy snacks require balance. Stick to recommended portions and consult your vet about dietary changes. Ready to become your pup’s favorite chef? Preheat that oven—their wagging tail awaits.
FAQ
Can I substitute ingredients if my pet has allergies?
Yes! Swap wheat flour with oat or coconut flour for gluten-free options. If your furry friend can’t tolerate apples, try unsweetened pumpkin or mashed blueberries. Always avoid grapes, raisins, or artificial sweeteners like xylitol.
How long do these snacks stay fresh?
Store baked goods in an airtight container for up to two weeks. For longer freshness, refrigerate for three weeks or freeze for three months. Let frozen portions thaw at room temperature before serving.
Is cinnamon safe for all pets?
In small amounts, it’s generally safe and adds flavor. However, avoid excessive quantities, as large doses may irritate sensitive stomachs. Consult your vet if unsure about introducing new spices.
Can I adjust baking times for a crunchier texture?
Absolutely. Bake at 350°F for 20–25 minutes for softer results. For extra crunch, extend by 5–7 minutes and let cool completely. Watch for golden edges to prevent burning.
What tools do I need for this recipe?
Use basic kitchen items like mixing bowls, baking sheets, and parchment paper. A silicone mat works well for non-stick surfaces. No specialized equipment required!
Are these suitable for puppies?
Yes, but break them into smaller pieces for easy chewing. Monitor portion sizes to avoid overfeeding, and ensure all ingredients align with your pup’s dietary needs.